
This text provides a comprehensive guide to diagnosing, repairing, and maintaining water heaters. It emphasizes a systematic approach, starting with assessing your system (type and age), proper preparation for repairs or installation, and selecting the right location for new heaters. Common issues like temperature problems, sediment buildup, and faulty elements are highlighted, along with step-by-step repair instructions. Regular maintenance, including annual flushing and pressure valve checks, is encouraged to extend heater lifespans. DIY repairs are discussed, but professionals are recommended for complex issues due to cost savings over time.
Water heater installation and repair is a crucial aspect of home maintenance that often goes overlooked until an emergency arises. Understanding common issues, assessing your unit’s type and age, and knowing when to call a professional are essential steps in ensuring efficient hot water heating. This comprehensive guide covers everything from basic troubleshooting to cost considerations, helping you navigate the process with confidence. Learn how to maintain your water heater for longevity and avoid costly repairs by mastering these key aspects of water heater repair.
Understanding Common Water Heater Issues
Assess Your Water Heater: Types and Age
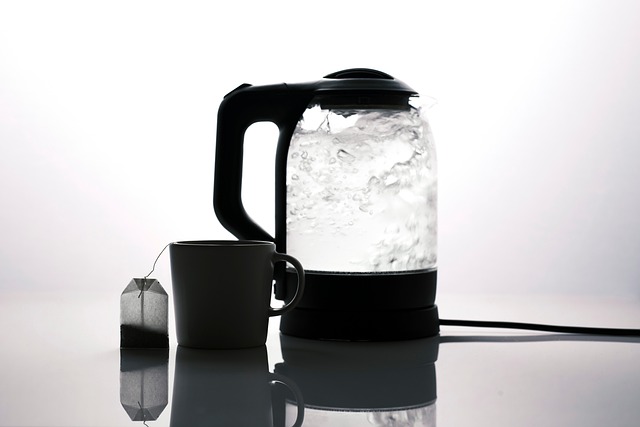
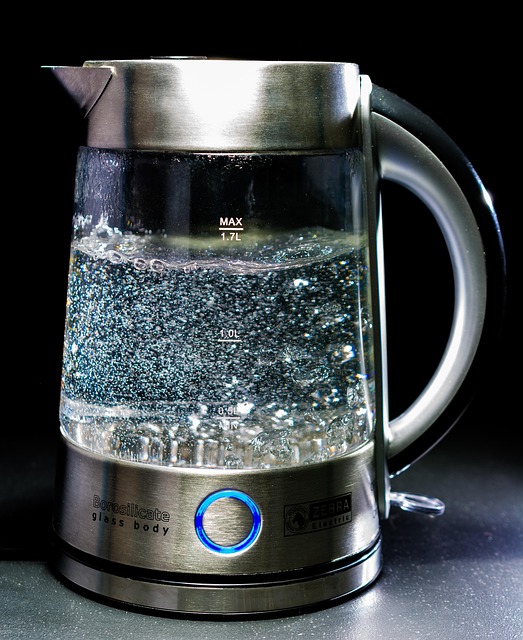
Before diving into water heater installation or repair, it’s crucial to assess your current system. The first step is to identify the type and age of your water heater. There are primarily three types: tanked, tankless, and heat pump. Tanked heaters store hot water in a reservoir, suitable for families with consistent hot water demands. Tankless heaters heat water on demand, making them energy-efficient but may require larger gas lines or electricity. Heat pump heaters use renewable heat from the air or ground to heat water, offering significant energy savings.
Evaluating your heater’s age is also vital. Older systems can become less efficient and more prone to failure. If your heater is over 10 years old, it might be time for a replacement to avoid costly repairs and ensure consistent access to hot water. When considering water heater repair or replacement, understanding these factors will help you make informed decisions tailored to your household needs.
Preparation for Installation or Repair
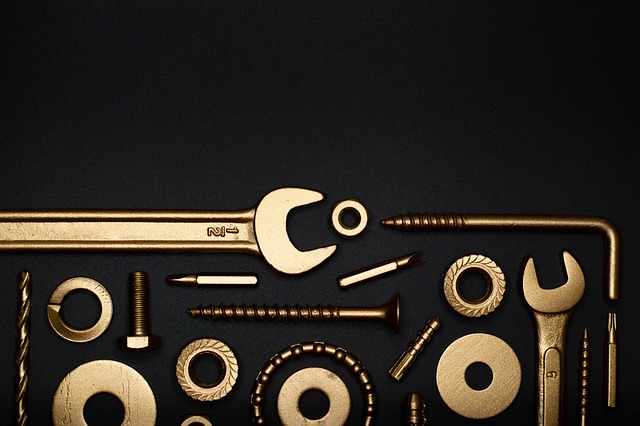
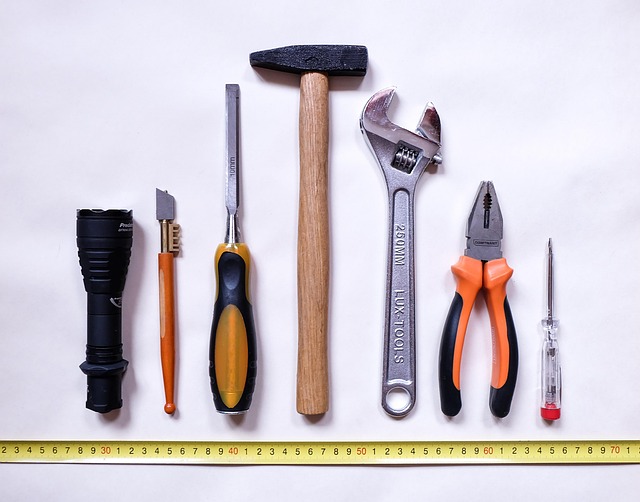
Before tackling any water heater installation or repair, thorough preparation is key. Start by turning off the water supply to prevent any accidents during the process. This can usually be done at the main shut-off valve located near the water meter. Next, assess your existing system and gather all necessary tools and parts, ensuring compatibility with your water heater model. It’s important to have a clear workspace and access to electrical outlets if you’re dealing with an electric water heater.
Safety should always be a priority; wear protective gear like gloves and eye protection to guard against any potential hazards. If the unit is old or has been previously repaired, inspect it for any signs of damage or corrosion. This step will help guide your repair or replacement decision. Proper preparation ensures a smoother installation or repair process and can prevent future issues.
Step-by-Step Guide to Water Heater Installation

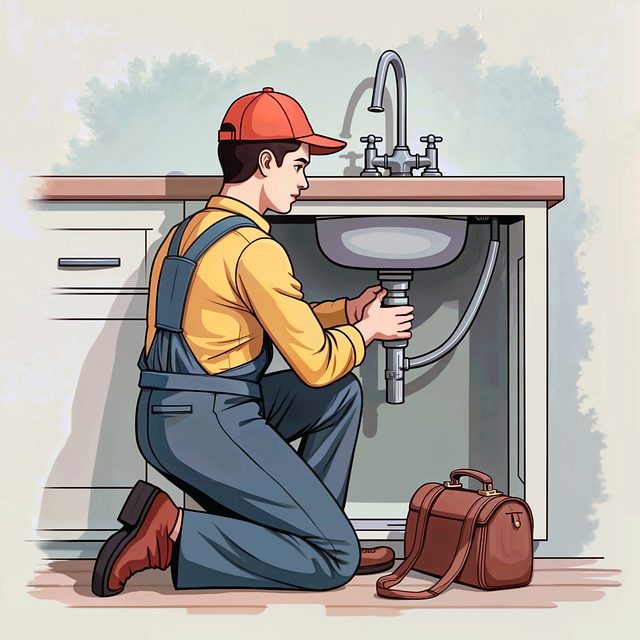
Installing a water heater is a task best left to professionals, but if you’re up for the challenge, here’s a step-by-step guide. First, locate the ideal spot for your new heater, ensuring it’s easily accessible for future repairs and positioned near the hot water outlets in your home. Next, turn off the water supply valves connected to the existing heater to prevent any accidents during installation. Drain the old heater by opening the drain valve at the bottom, allowing all residual water to exit.
Once the old unit is empty and disconnected, prepare the new water heater by unboxing it and checking for any damage. Position the heater in place, ensuring it’s level and secured with brackets if necessary. Connect the cold water supply line to the appropriate terminal on the heater, following instructions for specific models. After that, reconnect the hot water outlet using the same process as the cold water line. Test the connections for leaks by turning on the valves and checking for any dripping water. Finally, turn on the power supply to the new water heater and let it heat up before use.
Troubleshooting Basic Water Heater Problems
Many common water heater problems can be easily troubleshooting and fixed by homeowners, saving time and money on potential Water Heater Repair costs. Before calling a professional, check for simple solutions like ensuring the heating element or dip tube is functioning correctly, verifying proper temperature settings, and inspecting for obvious signs of damage or leaks.
If your water heater isn’t heating, check the power supply to ensure it’s turned on and the circuit breaker hasn’t tripped. Similarly, low hot water pressure could be caused by a mineral buildup in the tank or an aerator that needs cleaning. Keep an eye out for rust or corrosion, which may require a complete replacement of your water heater.
When to Call a Professional Plumber

Water heater issues can range from minor inconveniences, like a slightly cooler shower, to major problems that could lead to serious damage if left unaddressed. While some basic troubleshooting and maintenance tasks are within most homeowners’ capabilities, knowing when to call a professional plumber for water heater repair is crucial.
If your water heater is old (typically over 10-15 years), experiences frequent breakdowns, or shows signs of corrosion or leaks, it’s time to involve a plumbing expert. Professional plumbers have the specialized knowledge and tools to diagnose complex issues, such as faulty heating elements, pressure relief valve problems, or tank corrosion that can’t be safely addressed by DIY methods. Plus, they can provide a permanent solution, ensuring your water heater operates efficiently and safely for years to come.
Cost Considerations: DIY vs. Hiring a Pro
When considering water heater installation or repair, cost is a significant factor. Doing it yourself (DIY) can be appealing for its potential savings, especially for simple repairs or replacing older models. However, complex installations or issues requiring specialized knowledge often necessitate hiring a professional. Professionals have the expertise to handle challenging tasks, ensuring long-lasting solutions and safety. While DIY options may offer lower upfront costs, factoring in time, tools, and potential mistakes can make it more expensive in the long run.
Professional water heater repair services provide peace of mind, as licensed technicians guarantee high-quality work and adhere to safety standards. They carry the necessary tools and parts, minimizing disruption and ensuring efficient service. Although professional services may come with a higher price tag, their expertise often translates to faster repairs, fewer complications, and extended system lifespan, ultimately saving you money down the line compared to repeated DIY attempts.
Maintaining Your Water Heater for Longevity

Regular maintenance is key to extending the life of your water heater and avoiding costly repairs. One simple yet effective step is to flush the system annually to remove mineral deposits and sediment buildup, which can lead to reduced heating efficiency and even damage over time. This process involves shutting off the water supply, opening hot-water taps to allow any remaining hot water to escape, then running cold water until the tank drains.
Additionally, checking the pressure relief valve (PRV) regularly is crucial. The PRV prevents the tank from exceeding safe pressure levels by releasing excess pressure as a safety measure. Ensure it’s working correctly and adjust or replace it if needed. Keep an eye out for any leaks around connections and fixtures, as well, as these can indicate worn-out components that may require professional water heater repair services to address effectively.